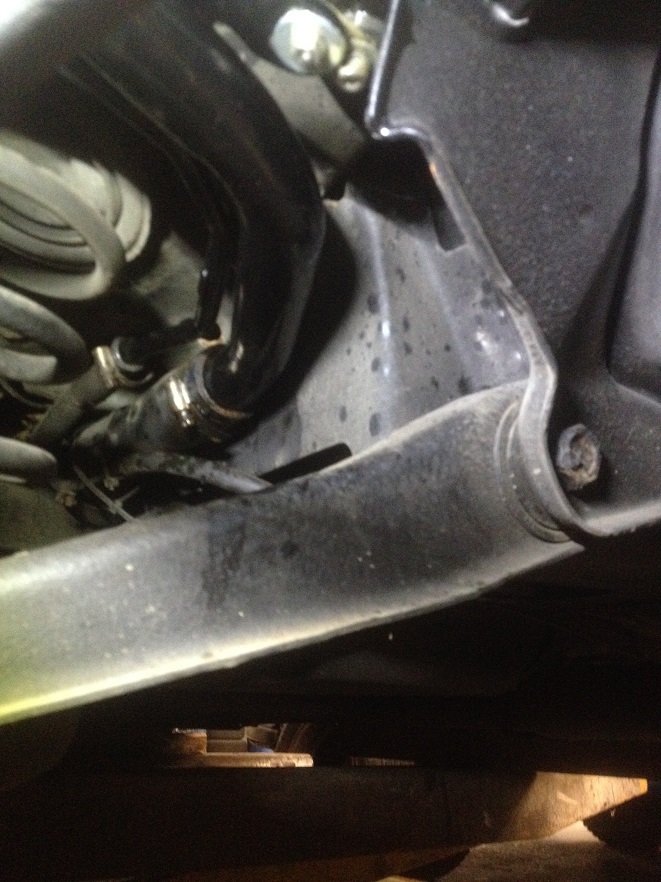
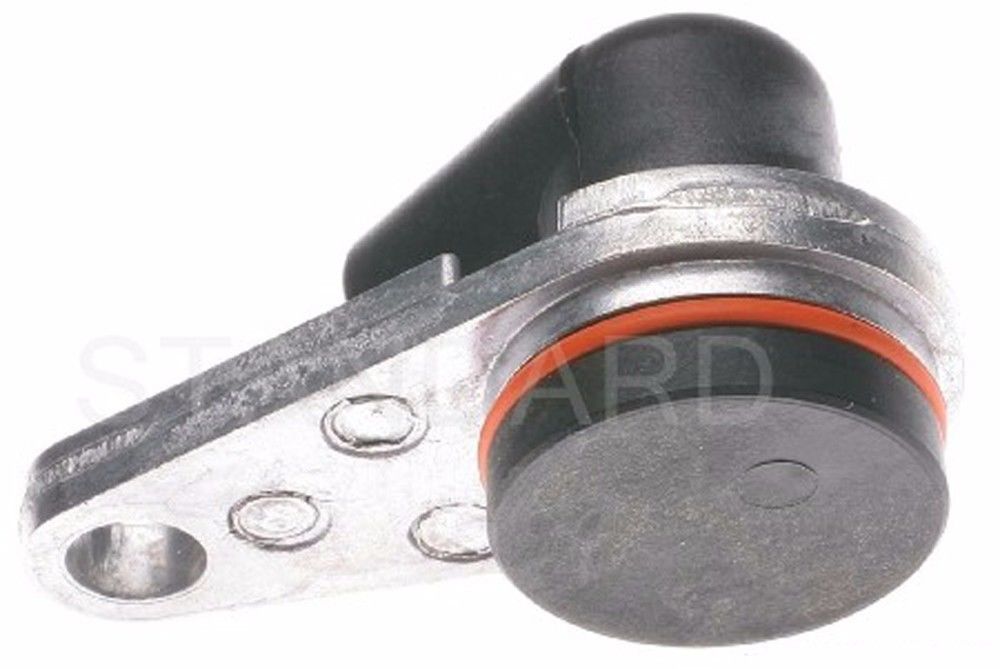
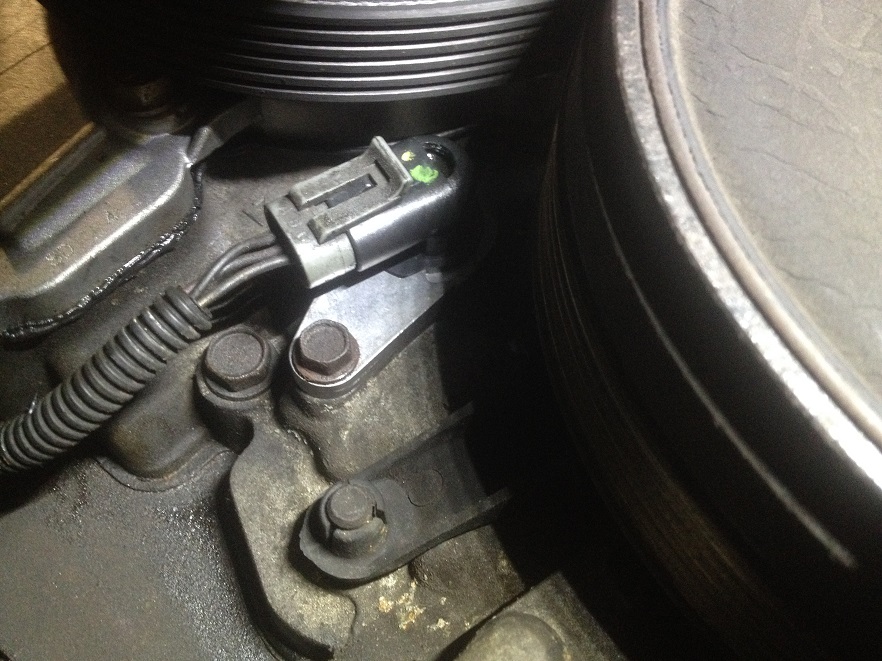
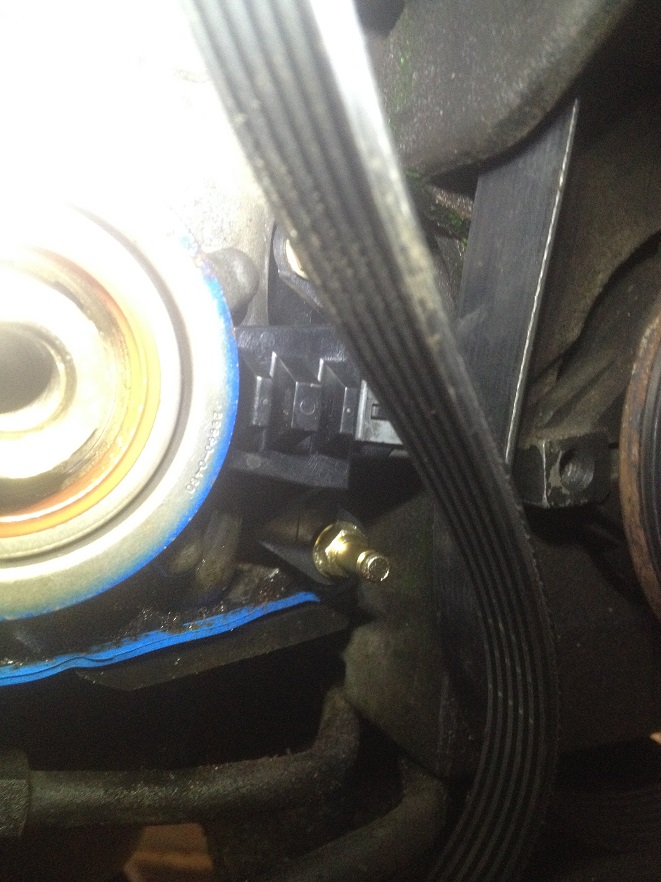
Was noch rum spinnt ist die Motor-öl-druck-anzeige
Wenn man Zündung an macht alles Okay , Zeiger bei 0
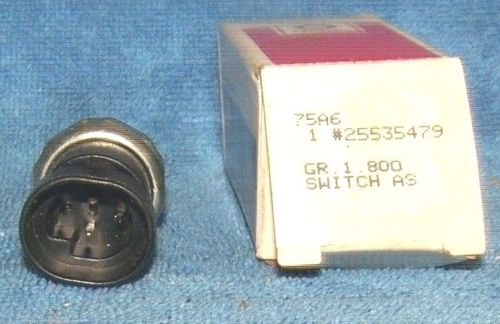
wenn man Motor startet Zeiger geht voll auf Anschlag
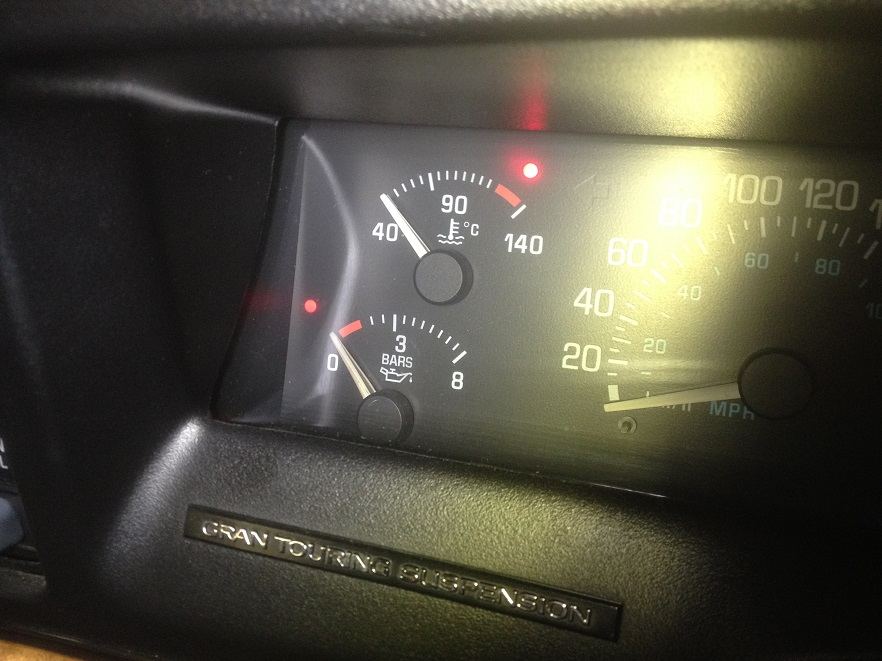
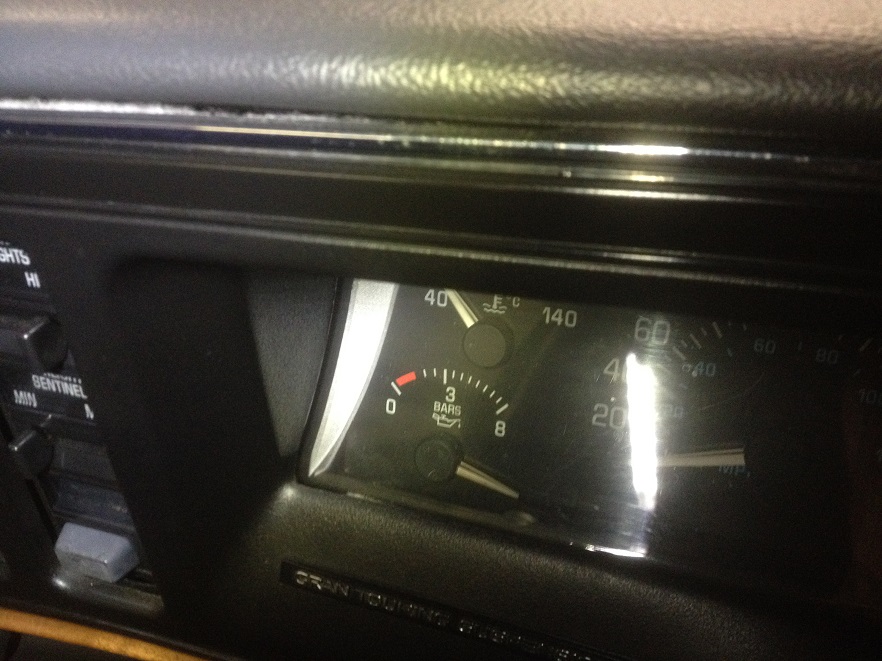
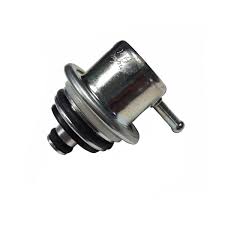
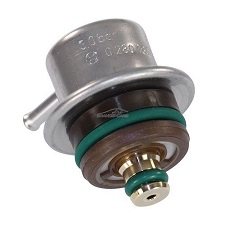
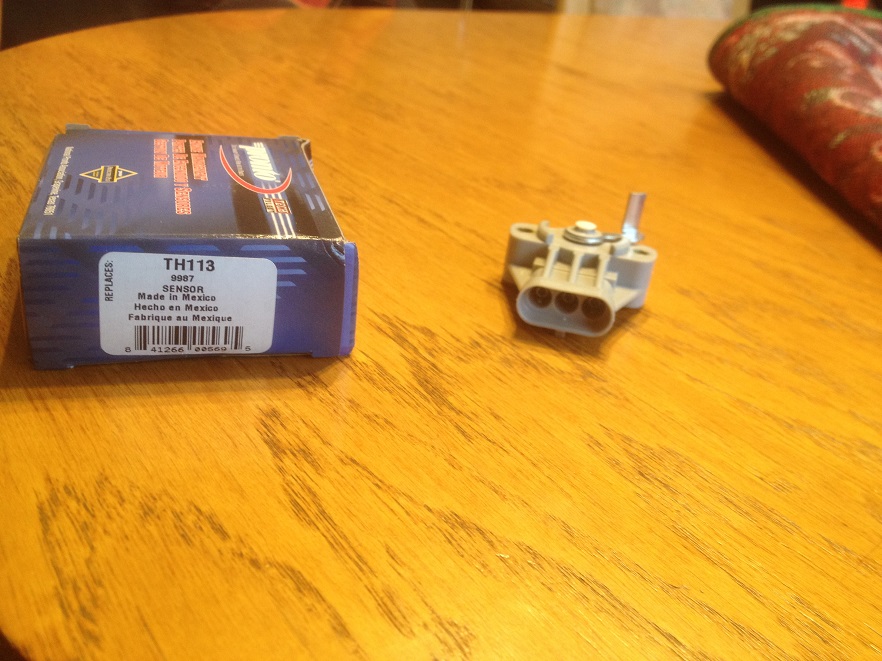
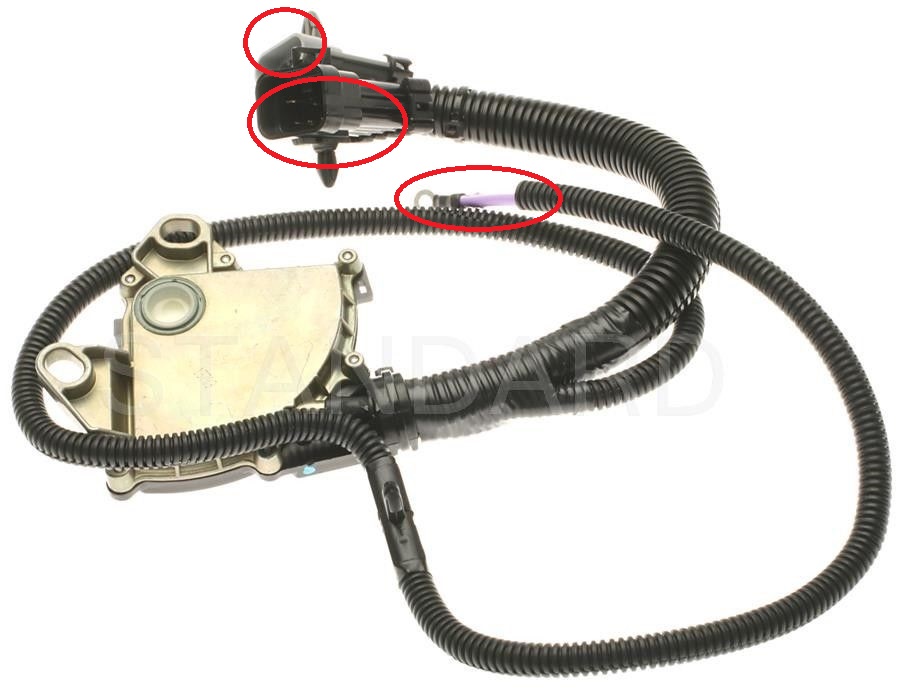
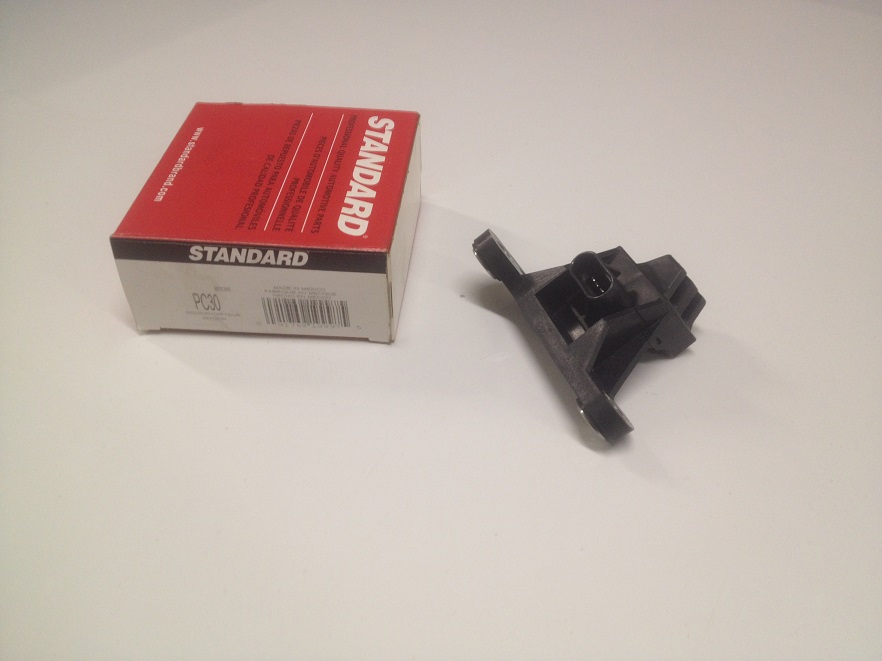
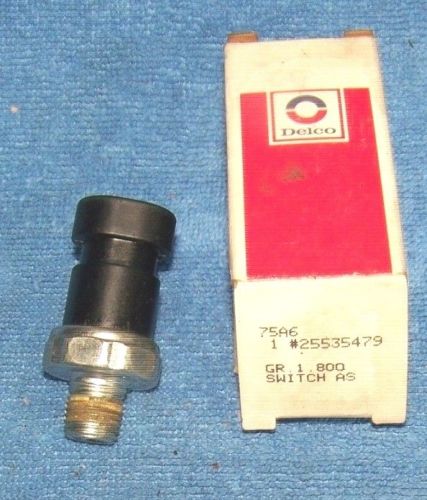
Öldrucksensor ist bereits getauscht , alles neu
25535479
Aus einem anderen Forum ! ( https://www.motor-talk.de/forum/buick-p ... st50186788 )
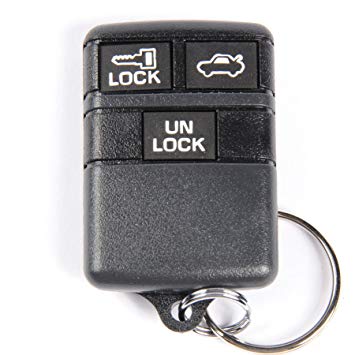
BUICK verriegeln und Öffnen mit Blinker bestätigung und Hup Ton :
Ich hab da auch nochmal eine Frage an die Experten.
In meiner Bedienungsanleitung (Englisch) steht, dass man einstellen kann, dass beim Verriegeln/Entriegeln per Fernbedienung die Blinker leuchten und/oder die Hupe kurz ertönt.
Leider funktioniert der Vorgang nicht bei mir , wie in der Anleitung beschrieben
* (Lock - Taste der Tür gedrückt halten und dann auf der Fernbedienung die Taste Kofferraumöffner drücken).
Hat jemand bei seinem Park Avenue optische /akkustische Rückmeldung für die ZV, oder wurde das bei der Europaversion kastriert ?
Und falls ja, wie bekomme ich das wieder ?
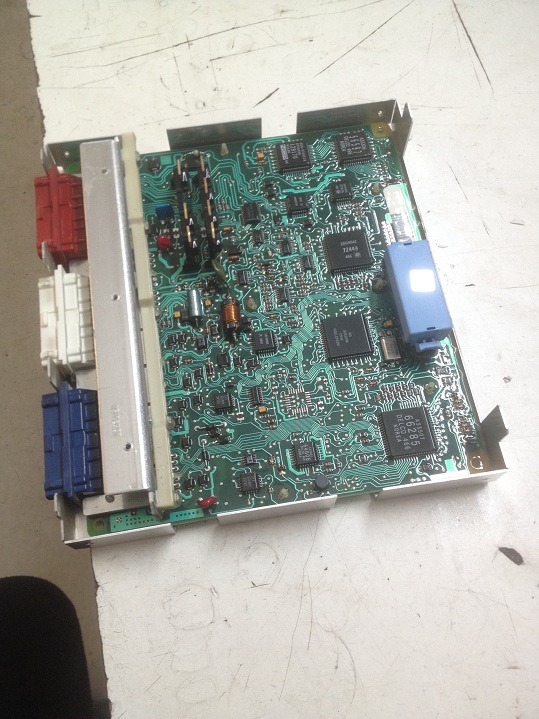
Steuergerät der US Version?
___________________________________________________________________________________________________________________________
Hier Fernbedienung BUICK 25602667 OEM BUICK CHEVY KEY Keyless Entry Remote Alarm 25602667https://picclick.com/Pair-1994-1997-New ... 95120.htmlhttps://www.ebay.de/itm/OEM-GM-25602667 ... SwTWBamKbuhttps://www.ebay.de/itm/2-NEW-2560668-T ... Sw5vxcWcDS Fernbedienung programmieren https://www.programyourremote.com/class ... e-133.aspxMost remotes can be self-programmed. If these procedures do not work, you must have your remote programmed by a professional automotive locksmith or dealership.
Procedure #1 (92 Century)
Obtain all remote transmitters for this vehicle.
1. Open trunk and locate the Programming Connector by the left side wheel well. Programming Connector may be behind the trim or carpet and will not be connected to anything. It will be a plastic connector with two wires running from it.
2. Ensure that there are two metal pins or terminals in the connector. Jump one pin to the other. This can be done with a jumper wire or a paper clip bent. Once jumped properly the door locks will cycle to lock then unlock.
3. Vehicle is now in programming mode. Press unlock on the remote once. When accepted the door locks will cycle again to lock then unlock.
4. Repeat step 3 when programming a second remote.
5. Programming is now complete. Remove jumper wire from Programming Connector and test remotes to ensure proper programming.
Procedure #2 (92-93 LeSabre, 91-93 Park Avenue)PROGRAMMIERUNG VON CHEVROLET 1996
1.Lokalisieren Sie den Data Link Port.
Es befindet sich unter dem Armaturenbrett auf der Fahrerseite.
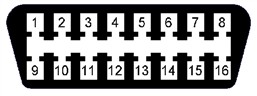
Stellen Sie sicher, dass Sie die Pins 8 und 4 kennen.
(Beachten Sie, dass der Anschluss oben breiter ist.) Ihr OBDII-Anschluss enthält keine Nummern. Verwenden Sie dieses Diagramm als Referenz.
2. Stellen Sie sicher, dass sich in den Klemmen 8 und 4 Metallkontaktstifte befinden. Verbinden Sie 8 bis 4 mit einem geeigneten Überbrückungskabel (lassen Sie das Überbrückungskabel während des Programmiervorgangs angeschlossen). Stellen Sie sicher, dass Sie wissen, welche Terminals 8 und 4 sind. Das Fahrzeug verriegelt und entriegelt daraufhin die Türen, um den Programmiermodus zu aktivieren.
3. Halten Sie die Tasten LOCK und UNLOCK am ersten zu programmierenden Sender gleichzeitig gedrückt. Nach ca. 15 Sekunden verriegelt und entriegelt das Fahrzeug die Türen. Lassen Sie die Tasten am Sender los.
4. Wiederholen Sie innerhalb einer Minute den vorherigen Schritt für die verbleibenden Sender, die programmiert werden sollen.
5.Entfernen Sie das am OBDII-Port angebrachte Überbrückungskabel
__________________________________________________________________________________________________
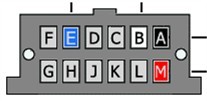
1. Locate the Data Link Connector (DLC) underneath the driver's side dashboard. Please refer to the diagram above to determine the G and A cavity. The letters will not appear on the connector. They are on the diagram for ease of reference.
2. Connect cavity G with cavity A using a fused jumper wire. Your vehicle will respond by locking and unlocking the door locks within 2 seconds.
3. Press any button 3 times in successtion on first remote to be programmed. Locks will lock and unlock verifying remote was programmed.
4. Press any button 3 times in succession on second remote to be programmed if applicable. Locks will lock and unlock to verify remote was programmed.
5. Remove jumper wire and test remote(s)
OR
1. Locate the Data Link Connector (DLC) underneath the driver's side dashboard. Please refer to the diagram above to determine the G and A cavity. The letters will not appear on the connector. They are on the diagram for ease of reference.
2. Connect cavity G with cavity A using a fused jumper wire. Your vehicle will respond by locking and unlocking the door locks within 2 seconds.
3. Press the UNLOCK button once on first remote to be programmed. Locks will lock and unlock verifying remote was programmed.
4. Press the UNLOCK button on second remote to be programmed if applicable. Locks will lock and unlock to verify remote was programmed.
5. Remove jumper wire and test remote(s)
Procedure #3 (94-95 LeSabre, 94-95 Park Avenue, 95 Riviera)
1. Locate the Data Link Port. It is located under drivers side dash. You may need to lay on the floor and look up under the dash to see it. Be sure you know which ports are 8 and 4. Notice the port is wider on the top row. If you are looking at the port with the wide row on top and the narrow row on bottom, Port 1 will be in the upper left corner and port 8 in the upper right corner. Be sure there are metal pins inside ports 8 and 4. Please refer to the diagram above to locate the proper pins. The numbers are not on the connector, they are only for reference.
2. Connect pin 8 to pin 4 with a suitable jumper wire. Any short piece of wire will work fine. A paper clip bent in the shape of a U will work perfect. (leave the jumper wire connected throughout the programming procedure).
3. Insert key into the ignition and turn the ignition cylinder to the ON position. The vehicle will respond by locking and unlocking the doors to indicate vehicle has entered programming mode.
4. Press and hold both the LOCK and UNLOCK buttons together on the first remote to be programmed. After about 15 seconds, the vehicle will respond by locking and unlocking the doors. Release the buttons on the remote.
5. Within one minute, repeat step 4 on all additional remotes including working ones to be programmed.
6. Remove the jumper wire connected to the Data Link Port.
OR
1. Locate the Data Link Port. It is located under drivers side dash. You may need to lay on the floor and look up under the dash to see it. Be sure you know which ports are 8 and 4. Notice the port is wider on the top row. If you are looking at the port with the wide row on top and the narrow row on bottom, Port 1 will be in the upper left corner and port 8 in the upper right corner. Be sure there are metal pins inside ports 8 and 4. Please refer to the diagram above to locate the proper pins. The numbers are not on the connector, they are only for reference.
2. Connect pin 8 to pin 4 with a suitable jumper wire. Any short piece of wire will work fine. A paper clip bent in the shape of a U will work perfect. (leave the jumper wire connected throughout the programming procedure). The vehicle will respond by locking and unlocking the doors to indicate vehicle has entered programming mode.
3. Press the Unlock button on the remote. The door locks will cycle again lock to unlock.
4. repeat step 3 to program a second transmitter.
5. Remove the jumper wire connected to the Data Link Port. Programming is now complete, test remotes to ensure proper programming.
Procedure #4 (93 Century)
Obtain all remote transmitters for this vehicle.
1. Access green programming connector in LH side of trunk (drivers side). Programming connector will not be connected to anything. It will have a plug on the end of it with two holes in it or ports.
2. Jump programming connector using a suitable jumper wire. Jumping the connector means to use a wire or paperclip bent in the shape of a U to make a connection between the two ports. Be sure you are making contact with the metal inside both ports.
3. System should now lock and unlock doors and activate trunk release to indicate successful entry into programming mode.
4. Press any button on remote one time. System should now lock and unlock doors and activate trunk release to indicate successful programming of remote.
5. Repeat step 4. for each additional remote including working ones.
6. To exit programming mode remove jumper wire and test all remotes.
Procedure #5 (89-90 Park Avenue)
Obtain all remote transmitters for this vehicle.
1. Ensure ignition is in the OFF position.
2. Lower glove box and remove the inner compartment. You must access behind the glove box. Once removed look in the upper left end and locate the Programming Connector. It will be a plastic connector with two terminals and two wires leading to it. Connector may be retained by a clip.
3. Once located jump the two terminals in the connector with a suitable jumper wire or you can use a paper clip bent in a "U" shape. Once connected properly the vehicle will automatically cycle the door locks to lock and then unlock.
4. Vehicle is now in programming mode. Press the UNLOCK button once on the first remote to be programmed. Vehicle will cycle door locks again to lock then unlock to verify acceptance of the remote.
5. Repeat step 4 to program an additional remote.
6. Programming is now complete. Remove jumper wire from Programming Connector and test remotes to ensure proper programming.
Procedure #6 (93 Riviera)
Obtain all remote transmitters for this vehicle.
1. Insert key into the ignition switch and turn ignition to the ON position (as far as you can turn before cranking engine).
2. Open the trunk and locate the (VAC) programming connector. It will be a green plastic connector with a single black/white wire running from it. It may be necessary to pull back some trim or carpet to access the connector.
3. Contact the (VAC) programming connector to ground (a metal surface with no paint) using a suitable jumper wire. The connector must remain grounded throughout the programming procedure. Once connected the door locks will cycle automatically to lock and then unlock. The vehicle is now in programming mode.
4. Press UNLOCK on the first remote to be programmed. The locks will automatically cycle to lock then unlock again to show the remote has been accepted.
5. If programming a second remote repeat step 4 for this remote. If only one remote is being programmed you need to press UNLOCK on the same remote and door locks will cycle again.
6. Programming is now complete. Remove ground from programming connector and test all remotes to ensure proper programming.
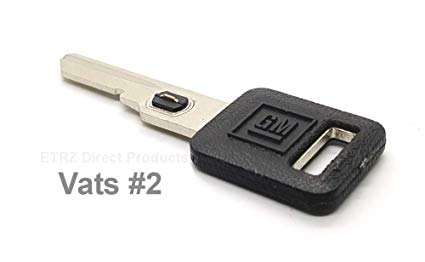
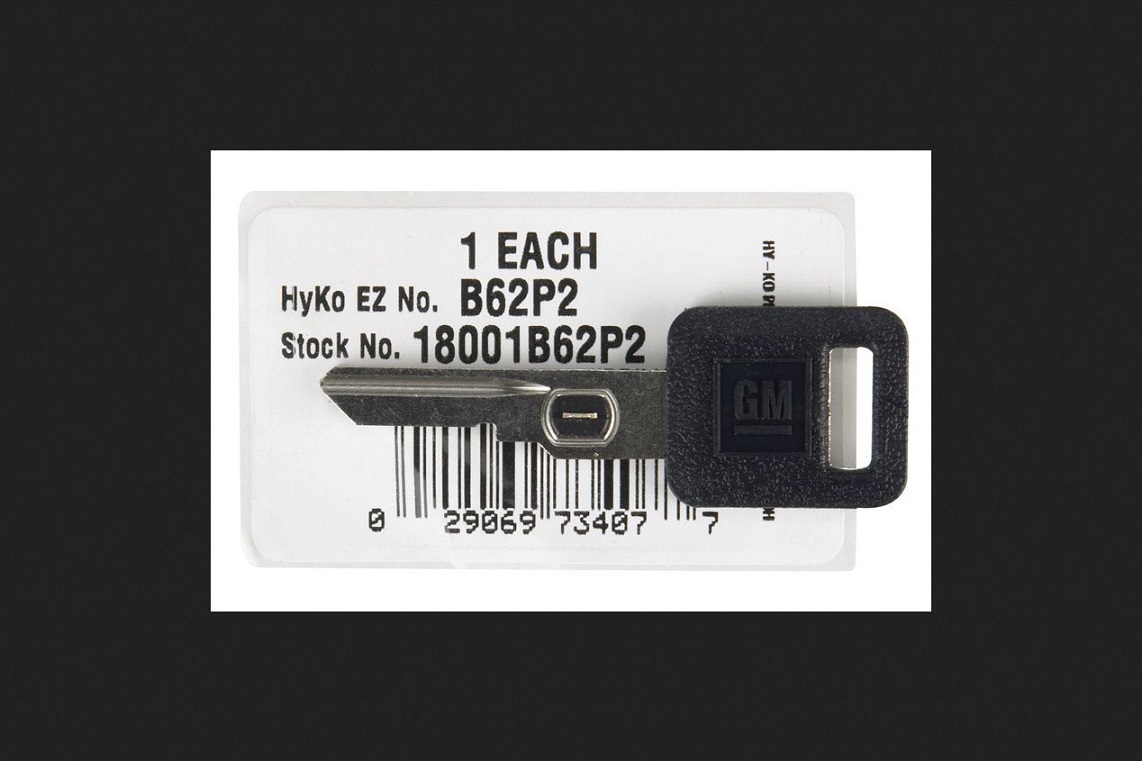
Habe mir jetzt auch noch mal 2 neue original Schlüßel bestellt
mit Transponder für Wegfahrsperre
weil leider nur 1 Schlüßel zum Auto mit dazu war
http://www.diy-gm-security.com/
Schließzylinder / Door Lock Cylinder
https://www.boltlock.com/locks/lock-cylinder

https://www.ebay.de/itm/194137827610?ha ... SwfDRf2GFJ
https://www.ebay.de/sch/i.html?_from=R4 ... M+2++Blank
http://mcguirelocksmith.com/service-art ... et-number/
http://www.diy-gm-security.com/
http://www.vatskey.com/
http://www.pekatronic.de/media/products ... 694112.pdf